由 Web UI 探索 Jenkins Scripting 對應的實作
- notes jenkins
在聽完 Jenkins World 2017: Mastering the Jenkins Script Console 的介紹後,想動手寫一些自己需要的東西,但實在不得其門而入。在 Script Console 有提供簡單的範例:
println(Jenkins.instance.pluginManager.plugins)
即使知道能透過 Jenkins.instance 做到各種事情,但是由這出發,慢慢探索 OOO 的功能是怎麼做到的,似乎太沒效率。在這苦惱的同時,影片中印出所有 method 與對應 Web UI 修改 github 使用者認證資料,再用 script 取得它,修改它給了我靈感。
如同講者分享的,他也是透過研究 GithubSecurityRealm 的原始碼才知道如何實作的,那我們應該也能由相似的路徑查出『OOO 的功能是怎麼做到的』既有的實作方法與相應要操作的物件。只是得解決一個問題,身為 Jenkins 不熟悉者要怎麼知道哪個功能,在哪個類別內呢?若能直接由 Web UI 的 source code 看出它對應的實作類別,那將會獲得很大的幫助。
觀察原始碼與 Web UI
於是下載了 Jenkins 的原始碼回來研究一下,發現檔案有點多。而且使用一種先前沒使用過的 Web Framework:Stapler,依官網的副標它是:
Stapler HTTP request handling engine
透過 What is Stapler? 可以看到它實作概念,能將一棵物件樹自動將物件對應為 URL 體系:

翻開 Jenkins 架構說明,可以明確知道對應的 root 物件為何:
The singleton Hudson instance is bound to the context root (e.g. “/”) URL, and the rest of the objects are bound according to their reachability from this root object.
而 root 物件的 get method 會被轉成 URL 裡的子目錄,不管是什麼形式由這個些簡單的資訊我們可以期待,由 URL 的路徑猜出某個 getXXXX 方法必存在,且對應到某個物件之上。這麼一來代表我們有機會快速由 URL 猜到對應的實作類別,或由 URL 配合 root 物件,也就是 Hudson instance 的 getter 找到對應的實作。
管理使用者
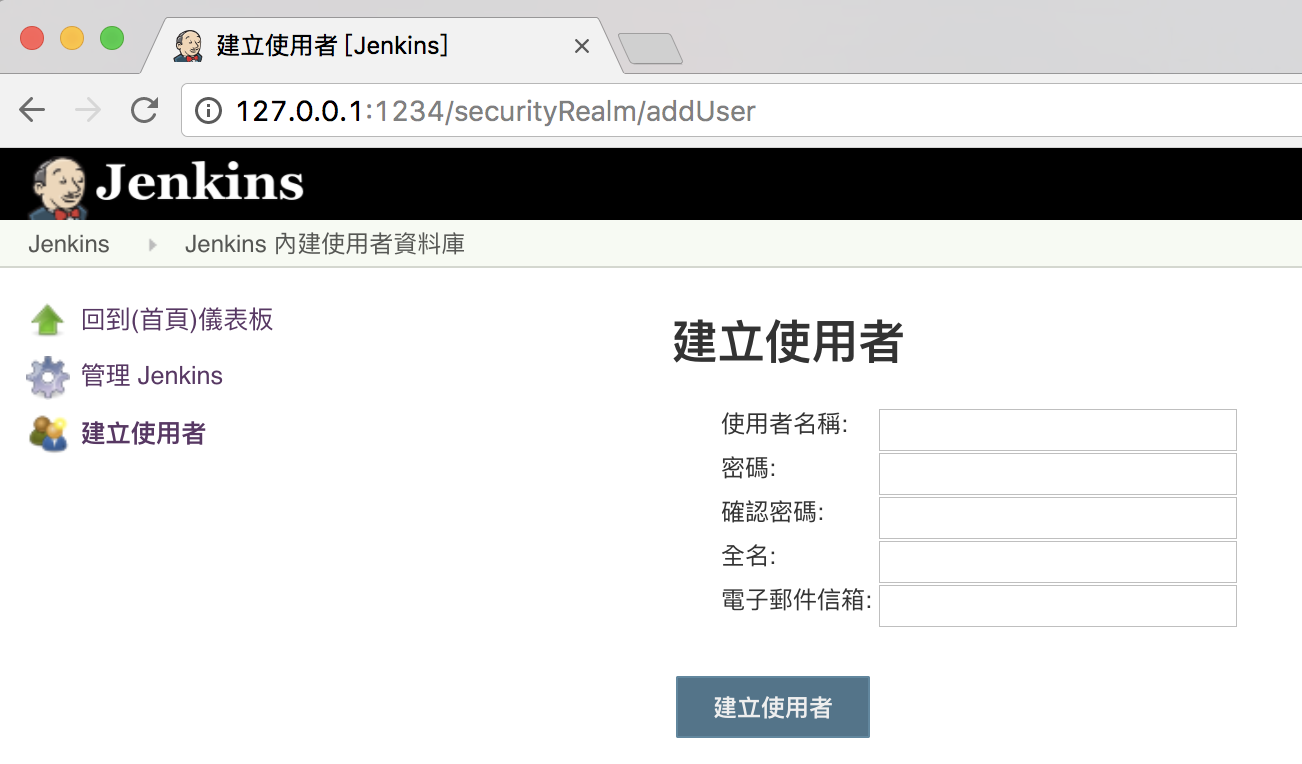
基於先前的方析,我們可以找點實際來練手。以剛安裝完 Jenkins 為例,常做的就是建立使用者。試著開始新增加使者的那頁,觀察一下網址:
http://127.0.0.1:1234/securityRealm/addUser
由於 root 是 Jenkins,所以可以猜這網址可能是這樣被呼叫的:
(jenkins).getSecurityRealm().addUser(...)
關於 root 物件
雖然最初的文件說是 Hudson 類別的 instance,但它只是為了向下相容。在改名為 Jenkins 後早已改用 Jenkins 類別的 instance 了,另外可參考 WebAppMain 的實作,它確實在成功啟動 Jenkins 後,將 root 物件替換為 Jenkins 的 instance。
探索 Jenkins 物件
Jenkins 物件確實存在 getSecurityRealm() 方法:
    public SecurityRealm getSecurityRealm() {
        return securityRealm;
    }
但在 SecurityRealm 卻沒有 addUser 方法,表示 addUser 作為某個物件的方法去理解在這是錯誤的,另一點值得思考的是 SecurityRealm 是抽象類別,得有另一個具體實作的類別:
public abstract class SecurityRealm extends AbstractDescribableImpl<SecurityRealm> implements ExtensionPoint {
    // ...
}
所以,我們可能直接在某個實作它的類別找到 addUser 方法,或是 doAddUser action,或是有個 addUser.jelly 的 view page。最終,在 hudson/security/HudsonPrivateSecurityRealm/addUser.jelly 發現了 view page,它的內容極短:
<?jelly escape-by-default='true'?>
<j:jelly xmlns:j="jelly:core" xmlns:st="jelly:stapler" xmlns:d="jelly:define" xmlns:l="/lib/layout" xmlns:t="/lib/hudson" xmlns:f="/lib/form">
  <local:_entryFormPage host="${it}" title="${%Create User}" action="createAccountByAdmin" captcha="${false}" xmlns:local="/hudson/security/HudsonPrivateSecurityRealm" />
</j:jelly>
雖然,還未理解 jelly 的具體運作方式,但在 Basic guide to Jelly usage in Jenkins
中有教到,變數 it 即為 URL 對應的物件,配合先前所知的規則,我們獲得的新線索會是:
(hudsonPrivateSecurityRealm).doCreateAccountByAdmin(...)
經追蹤後,能找到對應的 doCreateAccountByAdmin 方法,最後獲得實際註冊使用者的做法:
// register the user
User user = createAccount(si.username,si.password1);
user.setFullName(si.fullname);
if(isMailerPluginPresent()) {
    try {
        // legacy hack. mail support has moved out to a separate plugin
        Class<?> up = Jenkins.getInstance().pluginManager.uberClassLoader.loadClass("hudson.tasks.Mailer$UserProperty");
        Constructor<?> c = up.getDeclaredConstructor(String.class);
        user.addProperty((UserProperty)c.newInstance(si.email));
    } catch (ReflectiveOperationException e) {
        throw new RuntimeException(e);
    }
}
user.save();
其中 createAccount 方法單純只是呼叫 User 的靜態方法:
/**
* Creates a new user account by registering a password to the user.
*/
public User createAccount(String userName, String password) throws IOException {
    User user = User.getById(userName, true);
    user.addProperty(Details.fromPlainPassword(password));
    return user;
}
經過這樣由 Web UI 追蹤實作方式的過程,我們學會了如何註冊使用者。這是單純研究 Jenkins 及其關聯物件無法直接知道的。
反思 URL 最後一節
重新再回頭看 trace 的流程,也許該把 URL 最後一節的部分,優先當 view page 尋找其 .jelly 應該是較有效率的。
設定全域安全性
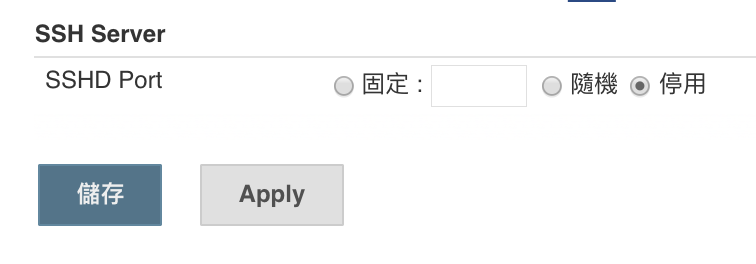
挑戰完使用者相關的頁面後,能再挑不同的頁面來試試。例如:設定 SSHD 連線 port。它被放在:
http://127.0.0.1:1234/configureSecurity/
所以,它可能是 root 物件 Jenkins 下的 getconfigureSecurity() 或是同 package 下的 configureSecurity.jelly。不過,找了半天,二者都不存在。動用 IDE 的文全檢索,發現它是在 GlobalSecurityConfiguration 類別內:
@Override
public String getUrlName() {
    return "configureSecurity";
}
這看起來就妙了,它顯然不是單純運用 Stapler 現有機制分派的頁面。稍為看了一會兒,它似乎是 Jenkins 內的 Service Discovery 機制,要追下去就偏離了尋找『OOO 的功能是怎麼做到的』首要目標。
那麼試著在 GlobalSecurityConfiguration 物件同 package 下詢找 view page,它是沒有 jelly 的,這又是另一個新奇的發現,但它有 .groovy:
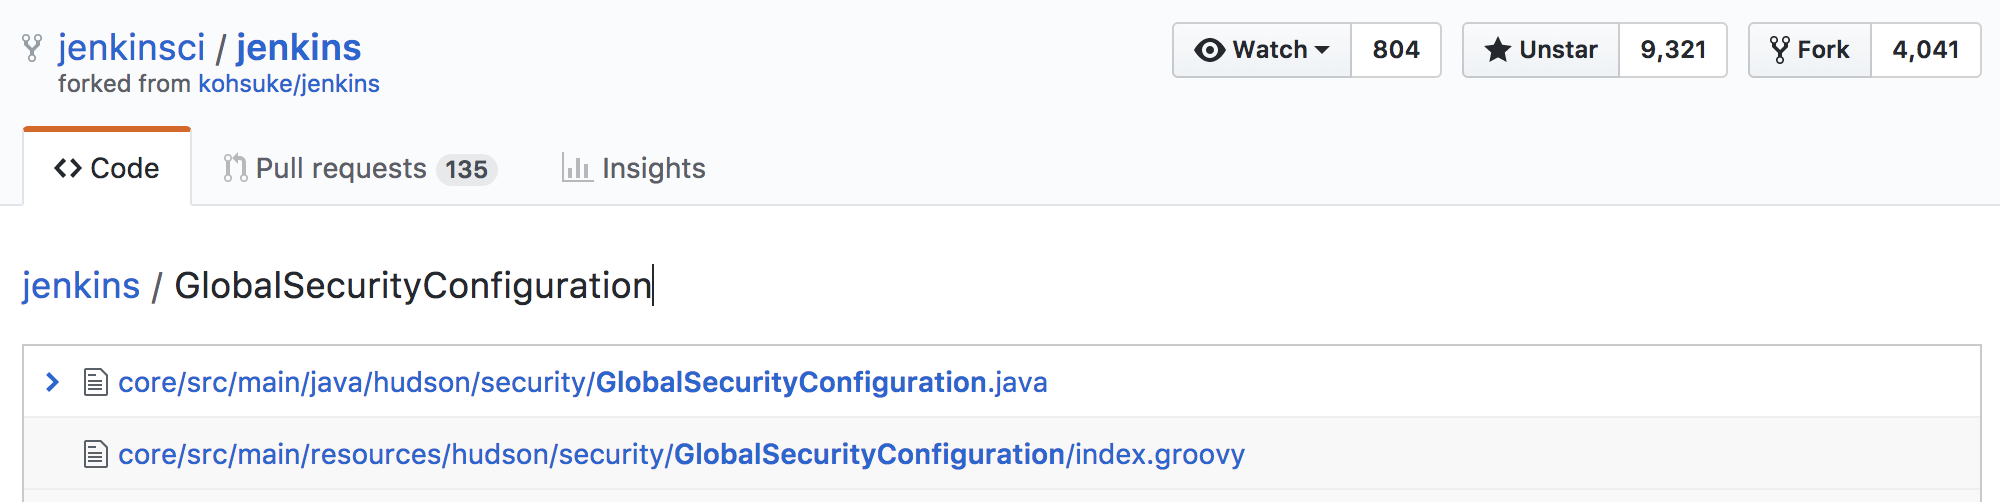
可以在其它的 Jenkins 開發文件找到是能以 groovy 實作 view page 的,雖然它沒說明如何達成。但看起來確實不難理解,原先的 jelly 就像 xml 格式了,用 groovy 來產生 xml 也不算新奇的事,直接看GlobalSecurityConfiguration 的 view page 實作:
package jenkins.tools.GlobalToolConfiguration

import hudson.Functions
import hudson.model.Descriptor

def f=namespace(lib.FormTagLib)
def l=namespace(lib.LayoutTagLib)
def st=namespace("jelly:stapler")

l.layout(norefresh:true, permission:app.ADMINISTER, title:my.displayName) {
    l.side_panel {
        l.tasks {
            l.task(icon:"icon-up icon-md", href:rootURL+'/', title:_("Back to Dashboard"))
            l.task(icon:"icon-setting icon-md", href:"${rootURL}/manage", title:_("Manage Jenkins"))
        }
    }
    l.main_panel {
        h1 {
            l.icon(class: 'icon-setting icon-xlg')
            // TODO more appropriate icon
            text(my.displayName)
        }

        p()
        div(class:"behavior-loading", _("LOADING"))

        f.form(method:"post",name:"config",action:"configure") {
            Functions.getSortedDescriptorsForGlobalConfig(my.FILTER).each { Descriptor descriptor ->
                set("descriptor",descriptor)
                set("instance",descriptor)
                f.rowSet(name:descriptor.jsonSafeClassName) {
                    st.include(from:descriptor, page:descriptor.globalConfigPage)
                }
            }

            f.bottomButtonBar {
                f.submit(value:_("Save"))
                f.apply(value:_("Apply"))
            }
        }

        st.adjunct(includes: "lib.form.confirm")
    }
}
依先前在 jelly 的經驗,我們得先找到 it,因為它是操作的物件本身。但我們可以觀察到,此頁相對於 it 的功能是 my,我想這是因為 groovy closure 的 it 有它既有的用途,所以改用 my 來取得即有的物件,那麼我們可以開始解讀在此頁的設定是如何來的:
Functions.getSortedDescriptorsForGlobalConfig(my.FILTER).each { Descriptor descriptor ->
    set("descriptor",descriptor)
    set("instance",descriptor)
    f.rowSet(name:descriptor.jsonSafeClassName) {
        st.include(from:descriptor, page:descriptor.globalConfigPage)
    }
}
它利用 GlobalSecurityConfiguration 內的 FILTER 找出需要的 Descriptor 後顯示在頁面上,我們需要的 SSHD 的部分,應該也在其中。而最終會回到 GlobalSecurityConfiguration 被處理,在它內部應提供 doXXXXX 的 action method,查看原始碼它只有唯一的 doConfigure:
@RequirePOST
public synchronized void doConfigure(StaplerRequest req, StaplerResponse rsp) throws IOException, ServletException, FormException {
    // for compatibility reasons, the actual value is stored in Jenkins
    BulkChange bc = new BulkChange(Jenkins.getInstance());
    try{
        boolean result = configure(req, req.getSubmittedForm());
        LOGGER.log(Level.FINE, "security saved: "+result);
        Jenkins.getInstance().save();
        FormApply.success(req.getContextPath()+"/manage").generateResponse(req, rsp, null);
    } finally {
        bc.commit();
    }
}
略過其它看起來不重要的部分,最終是要求 Descriptor 更新自己:
private boolean configureDescriptor(StaplerRequest req, JSONObject json, Descriptor<?> d) throws FormException {
    // collapse the structure to remain backward compatible with the JSON structure before 1.
    String name = d.getJsonSafeClassName();
    JSONObject js = json.has(name) ? json.getJSONObject(name) : new JSONObject(); // if it doesn't have the property, the method returns invalid null object.
    json.putAll(js);
    return d.configure(req, js);
}
那麼我們得知道,哪一個 Descriptor 是能用改 SSHD 的 port 的,試著用一樣的邏輯在 Script Console 印出來觀察一下:
Functions.getSortedDescriptorsForGlobalConfig(hudson.security.GlobalSecurityConfiguration.FILTER).each { Descriptor descriptor ->
  println "Name: ${descriptor.displayName}, id: ${descriptor.id}"
}
結果如下:
Name: GlobalCrumbIssuerConfiguration, id: hudson.security.csrf.GlobalCrumbIssuerConfiguration
Name: CLI, id: jenkins.CLI
Name: DownloadSettings, id: jenkins.model.DownloadSettings
Name: QueueItemAuthenticatorConfiguration, id: jenkins.security.QueueItemAuthenticatorConfiguration
Name: UpdateSiteWarningsConfiguration, id: jenkins.security.UpdateSiteWarningsConfiguration
Name: MasterKillSwitchConfiguration, id: jenkins.security.s2m.MasterKillSwitchConfiguration
Name: SSHD, id: org.jenkinsci.main.modules.sshd.SSHD
Result: [hudson.security.csrf.GlobalCrumbIssuerConfiguration@50155648, jenkins.CLI@1844b419, jenkins.model.DownloadSettings@23681065, jenkins.security.QueueItemAuthenticatorConfiguration@10a54860, jenkins.security.UpdateSiteWarningsConfiguration@6a78fb2a, jenkins.security.s2m.MasterKillSwitchConfiguration@57a16e00, org.jenkinsci.main.modules.sshd.SSHD@3429b7a9]
由於 org.jenkinsci.main.modules.sshd.SSHD 是相依的 library,不是原始碼型式在專案內的,我們仍可 google 到它的程式看一下 configure 在做些什麼:
@Override
public boolean configure(StaplerRequest req, JSONObject json) throws FormException {
    setPort(new ServerTcpPort(json.getJSONObject("port")).getPort());
    return true;
}
並且知道透過呼叫 setPort 就能完成目標了:
/**
    * Set the port number to be used.
    *
    * @param port -1 to disable this, 0 to run with a random port, otherwise the port number.
    */
public void setPort(int port) {
    if (this.port!=port) {
        this.port = port;
        Timer.get().submit(new Runnable() {
            public void run() {
                restart();
            }
        });
        save();
    }
}
另外,可以發現 SSHD 也是一個 Extension,所以能直接使用 Service Discovery 機制取得這個物件,以它內部的實作就提供了這樣的方法:
public static SSHD get() {
    return ExtensionList.lookup(GlobalConfiguration.class).get(SSHD.class);
}
所以,要達成目標需要的程式碼應為:
org.jenkinsci.main.modules.sshd.SSHD.get().setPort(5566);
在 Script Console 執行完後,重新設定全域安全設定的那一頁:
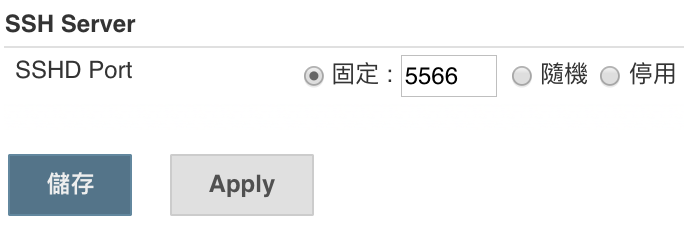
完全不敢相信,竟然這麼簡單就成功啟用 sshd:
qty:~ qrtt1$ telnet 127.0.0.1 5566
Trying 127.0.0.1...
Connected to localhost.
Escape character is '^]'.
SSH-2.0-SSHD-CORE-1.6.0
^]
telnet> q
Connection closed.
qty:~ qrtt1$
結語
雖然,我們沒有真正掌握 Jenkins Web UI 的技術,但至少能開始 trace 原始碼,並獲得有用的資訊了。(雖然,過程累了點),但都找到方法後可以直接用 Jenkins Script 做出各式各樣的設定變更。
當我們知道如何挖掘出需要的 Groovy Script 後,就可以把它用來:
- Jenkins Provision:當你裝好一個全新的 Jenkins 時,總會需要有些『人工』設定的部分,可以把它用在 Post-initialization script,也就是
$JENKINS_HOME/init.groovy或是任何$JENKINS_HOME/init.groovy.d/目錄下的.groovy檔。讓它幫你完成人工需要設定的內容。 - 利用 Script 進行大量操作,像是大量新增 slave 或幫 Job 改名字。
各種應用都算是挺便利的,未來相關的 Script 會蒐集在 Recipe 頁面。